OIDC
OIDC integration provides:
- Authentication using corporate identities through any spec-compliant OIDC issuer.
- Role-based feature accessibility (
authorizedActions). - Role-based traffic visibility (KFL filter applied to every query).
The roles map and rolesClaim are shared with SAML — see the SAML page for the same configuration applied against a SAML IdP.
Breaking change:
tap.auth.type=oidcnow routes to the generic OIDC middleware. Earlier releases routedoidcto Descope. If you were usingoidcto mean Descope, switch totap.auth.type=descope(ordefault). Thedexlabel remains a permanent alias ofoidc.
Prerequisites
Bundled Dex vs external IdP. Kubeshark’s Helm chart can deploy a Dex instance inside the cluster — set
tap.auth.dexConfigin your chart values and the chart provisions Dex alongside the hub (see the helm chart README for the fulldexConfigschema). This is a convenience for clusters that don’t already have an IdP; the hub still speaks generic OIDC against it. If you already run Okta, Auth0, Keycloak, Azure AD, Google, or an external Dex, leavedexConfigunset and just pointtap.auth.oidc.issuerat your existing issuer.
If you’re integrating with Dex, add the following static client configuration to your Dex IdP’s config.yaml:
staticClients:
  - id: kubeshark
    secret: <create your own client password>
    name: Kubeshark
    redirectURIs:
      - https://<your-kubeshark-host>/api/oauth2/callback
Replace <your-kubeshark-host> with Kubeshark’s URL.
For other issuers (Okta, Auth0, Keycloak, Azure AD, Google), register an OIDC application with the same redirect URI. Make sure the application requests the groups scope (or whichever claim you set in rolesClaim below).
Kubeshark Configuration
# values.yaml

tap:
  auth:
    enabled: true
    type: oidc                # canonical; `dex` is accepted as a permanent alias
    # JWT claim carrying the user's role memberships. `groups` is the
    # de-facto OIDC convention; some providers (e.g. Azure AD) emit a
    # single string when the user has one role — both shapes are accepted.
    rolesClaim: groups
    # Optional: name of a role inside `roles` applied when an authenticated
    # user has no matching role in their token. Empty = no fallback.
    defaultRole: ""
    roles:
      admin:
        # Comma-separated namespace list: "" = deny all, "*" = every namespace,
        # "foo" = literal, "foo,bar" = OR over literals, "foo-*" = glob expansion
        # against the cluster's known namespaces.
        namespaces: "*"
        canDownloadPCAP: true
        canUseScripting: true
        scriptingPermissions:
          canSave: true
          canActivate: true
          canDelete: true
        canUpdateTargetedPods: true
        canStopTrafficCapturing: true
        canControlDissection: true
        showAdminConsoleLink: true
      payments-viewer:
        namespaces: "payments"
        canUseScripting: true
    oidc:
      issuer: <insert OIDC issuer URL here>
      clientId: kubeshark
      clientSecret: <your client password>
      refreshTokenLifetime: "3960h" # 165 days
      oauth2StateParamExpiry: "10m"
      bypassSslCaCheck: false
Breaking changes since the unified-roles rollout:
- Legacy
auth.saml.rolesandauth.saml.roleAttributeare no longer read — move their values to the top-levelauth.rolesandauth.rolesClaim.- Empty/unset
auth.rolesno longer grants all permissions; admins relying on that behaviour must either populateauth.rolesexplicitly or setauth.defaultRole.- Per-role
filter(raw KFL string) was replaced withnamespaces(comma list, see below). Configs carryingfilter:are ignored at unmarshal — migrate tonamespaces:.auth.defaultFilteris removed. The deny-default semantic moves into per-rolenamespaces: ""; opt out for admin roles withnamespaces: "*".
Note:
Set tap.auth.oidc.bypassSslCaCheck: true
to allow Kubeshark to communicate with an issuer presenting an unknown SSL Certificate Authority.
This setting allows you to prevent SSL CA-related errors:
tls: failed to verify certificate: x509: certificate signed by unknown authority
After configuring the values file, install Kubeshark:
helm install kubeshark kubeshark/kubeshark -f ./values.yamlLogin Behavior
Kubeshark sends prompt=login on every OIDC authorize request, forcing the IdP to re-prompt for credentials on each login. After logging out of Kubeshark, the IdP will not silently re-authenticate the user from a leftover SSO session cookie — operators can pick a different user without clearing browser state. This does not affect the IdP session for other applications in the same org.
Try Your OIDC-Enabled Kubeshark
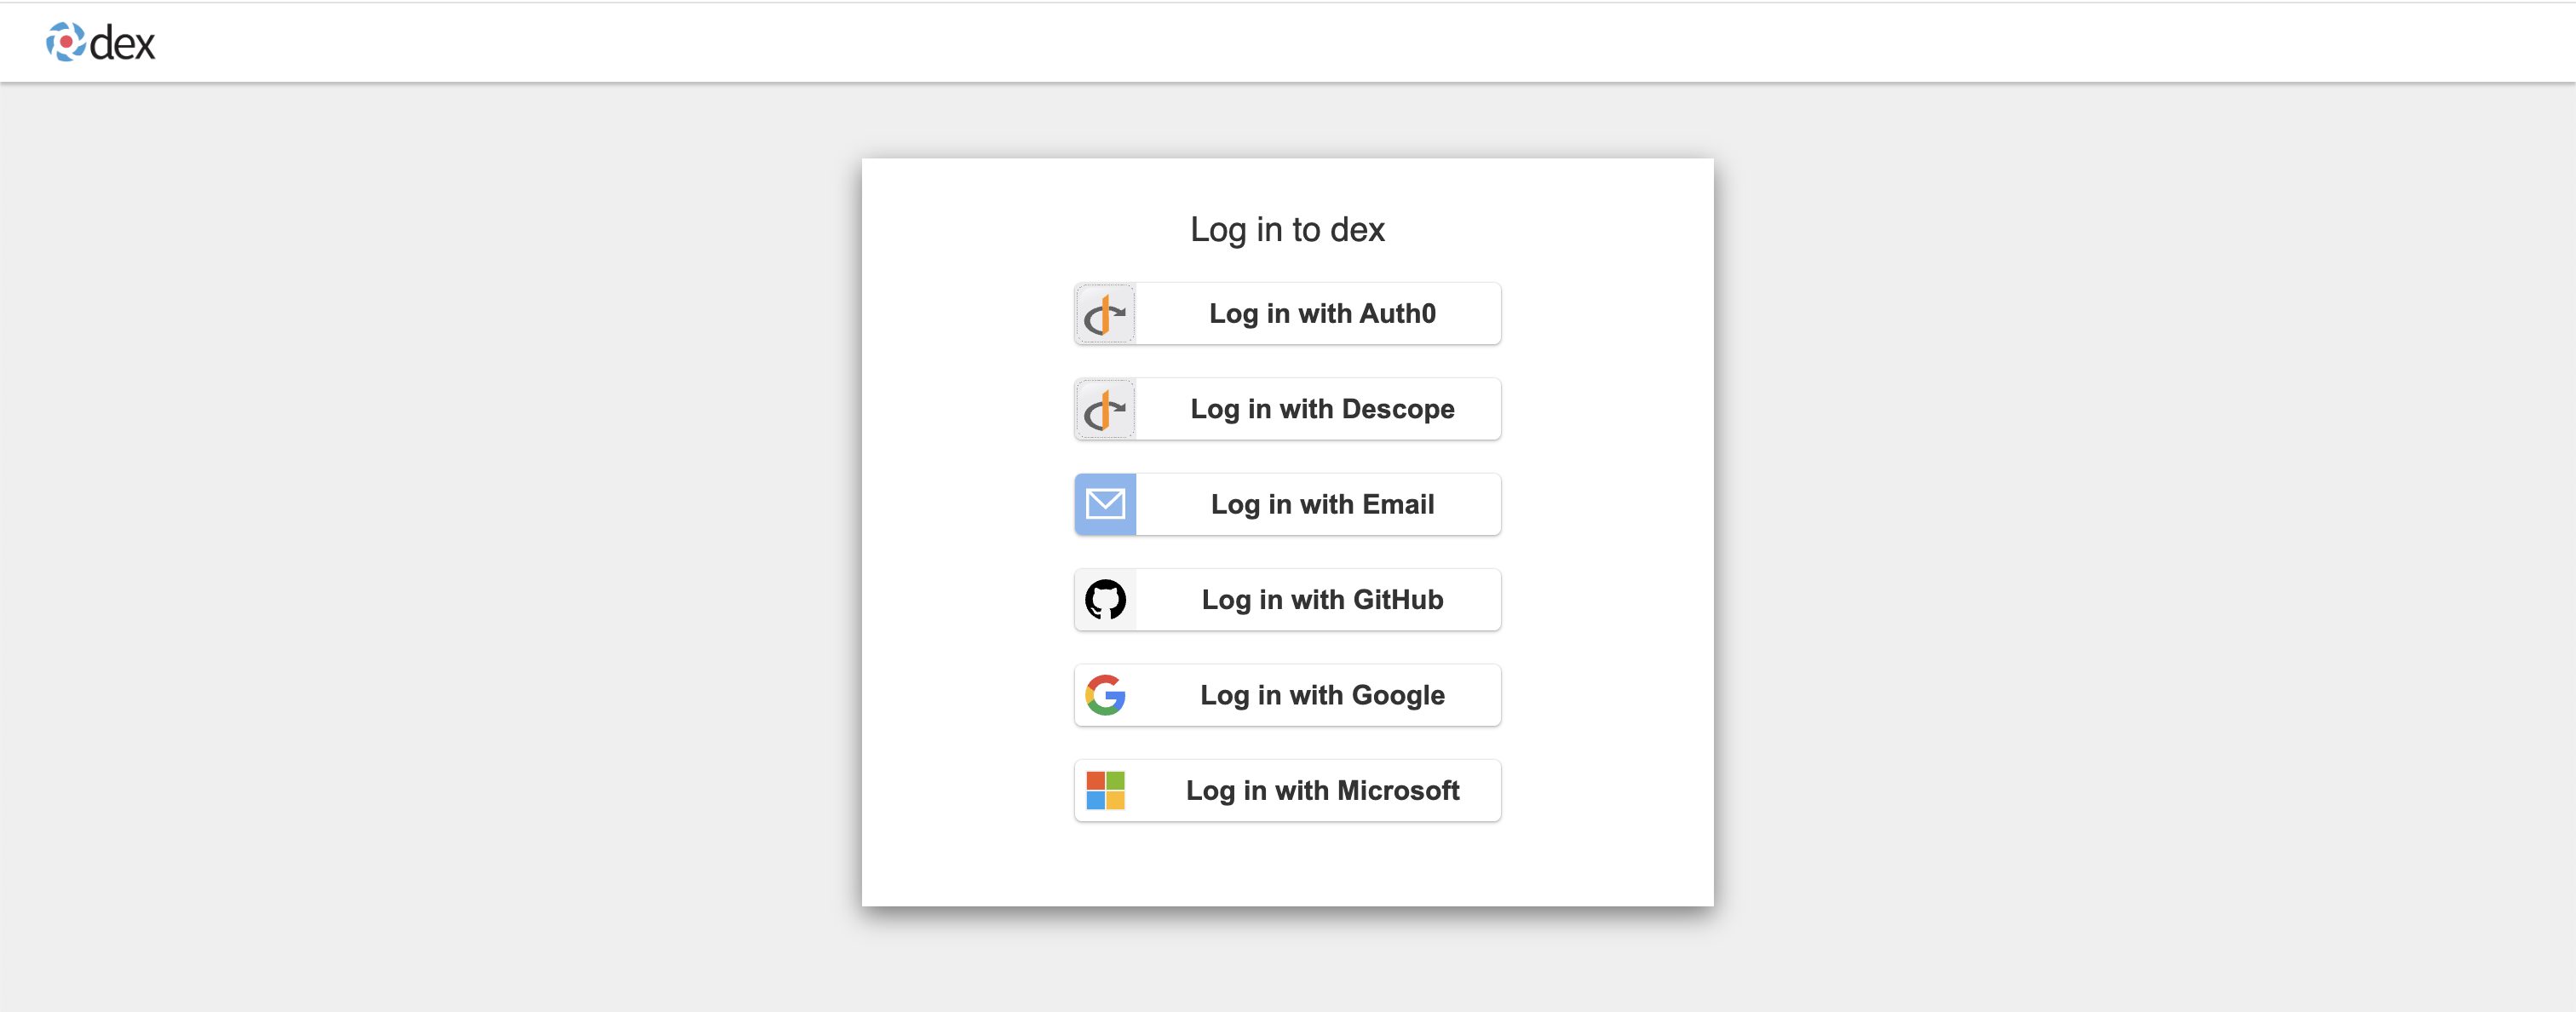
Once OIDC is enabled you’ll be redirected to your IdP’s login page. The screenshots below show Dex; Okta / Auth0 / Keycloak follow the same flow.
Example: Dex IdP Login Page
-
Choose a login option. Your upstream IdP (Google, Microsoft, etc.) will guide you through authentication.
-
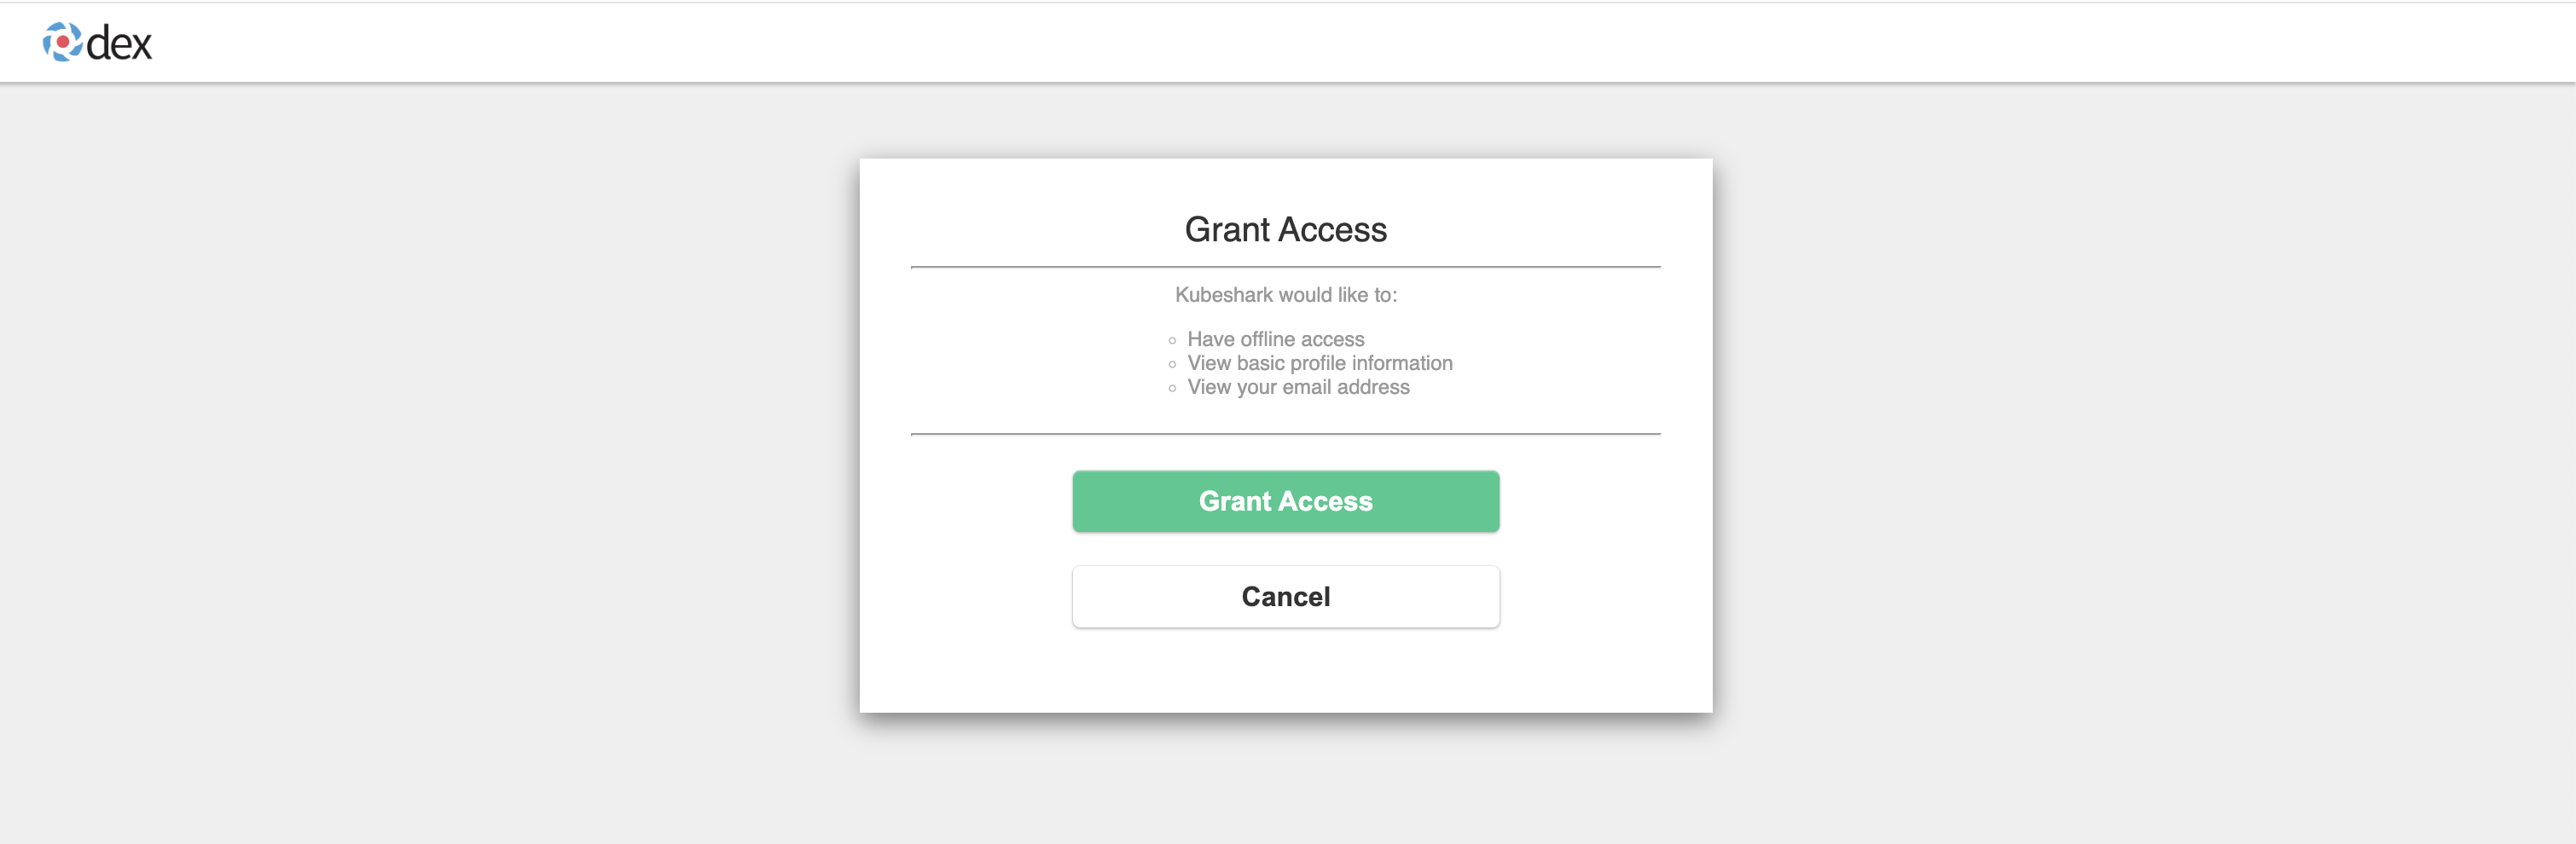
Grant Kubeshark access to your user information when prompted:
-
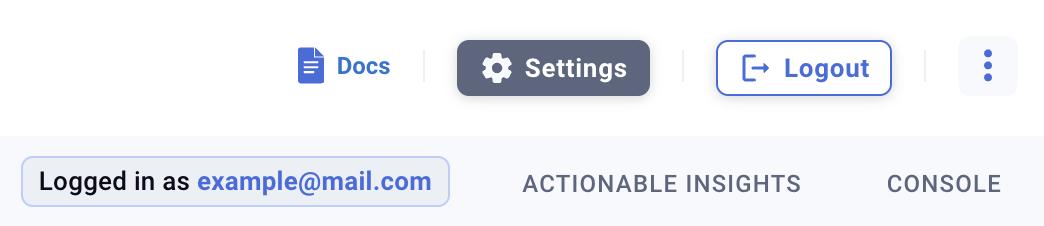
You’re logged in. Your email appears in the top-right of the dashboard:
-
You’re authorized. Use Kubeshark as usual.
IdP Role Configuration
Kubeshark reads role memberships from the JWT claim named in auth.rolesClaim (default groups). Configure your IdP to emit the user’s group / role memberships in that claim:
- Dex — propagates upstream group membership through the configured connector. Some connectors (LDAP, GitHub) require explicit
groupsconfiguration; check Dex docs for your connector. - Okta — add a groups claim to the OIDC app, scope the filter (e.g.
Starts with: hub-) to keep unrelated groups out of the token. - Auth0 — add a Rule or Action that sets
idToken['groups'] = user.groups. - Keycloak — enable the “Groups” mapper on the client.
- Azure AD — emits group object IDs by default; configure the app registration to emit group display names if you want human-readable role keys.
Namespace Authorization Rules
Each role specifies a namespaces list that limits the Kubernetes namespaces whose traffic is visible to users in that role. The hub expands the list internally into a KFL filter (src.pod.namespace.name=="…" || dst.pod.namespace.name=="…") AND-ed onto every query and stream. Enforcement covers all hub data paths: REST queries, the legacy /ws stream, and the Connect-RPC streaming endpoints used by the dashboard. Earlier OIDC builds enforced action-level RBAC but skipped the Connect-RPC data path — that gap is closed, so cross-namespace entries that previously slipped through the dashboard stream are now filtered out.
| Value | Effect |
|---|---|
"" (unset) | Deny all — explicit deny-default for the role. |
"*" | Every namespace; no scope filter applied. |
"foo" | Only the literal namespace foo (src or dst). |
"foo,bar" | OR over literal namespaces; whitespace tolerated. |
"foo-*" | Glob expansion against the cluster’s currently-watched namespaces (e.g. payments-api, payments-db). Re-evaluated at each role-resolve, so newly-deployed namespaces matching the pattern become visible at the next sign-in / token refresh. |
"a, b, c-*" | Mix of literals and globs in the same list. |
Users with multiple roles see the union of every role’s namespaces (logical OR). A role with namespaces: "*" lifts every restriction the user would otherwise carry from another role.
Feature Authorization Rules
Each role’s flags map to UI / API actions:
| Flag | Gates |
|---|---|
canDownloadPCAP | PCAP download endpoints (/pcaps/download/...). |
canUseScripting | Reading scripts (GET /scripts). |
scriptingPermissions.canSave | POST / PUT /scripts. |
scriptingPermissions.canActivate | Activate/deactivate scripts (/scripts/:index/activate). |
scriptingPermissions.canDelete | Delete scripts (DELETE /scripts/...). |
canUpdateTargetedPods | Pod targeting endpoints (/pods/target/...). |
canStopTrafficCapturing / canControlDissection | Dissection controls (POST /settings/dissection). |
showAdminConsoleLink | Frontend gate for the admin console link. |
Verifying the active role with /whoami
GET /whoami returns the authenticated user’s identity, resolved authorizedActions, and merged authzFilters. Useful for diagnosing “why don’t I have access to X?” — the response shows exactly which roles the token claim returned (user.roles), which keys actually matched auth.roles (user.effectiveRoles), and the resulting permissions.
The same data is surfaced in the dashboard as the Identity & Access modal — click your name in the top-right to open it. The modal shows the authenticated identity, claimed vs. effective roles, the per-action flag table, and the per-role namespace scope side-by-side, so non-admins can self-diagnose access without curl-ing /whoami directly.